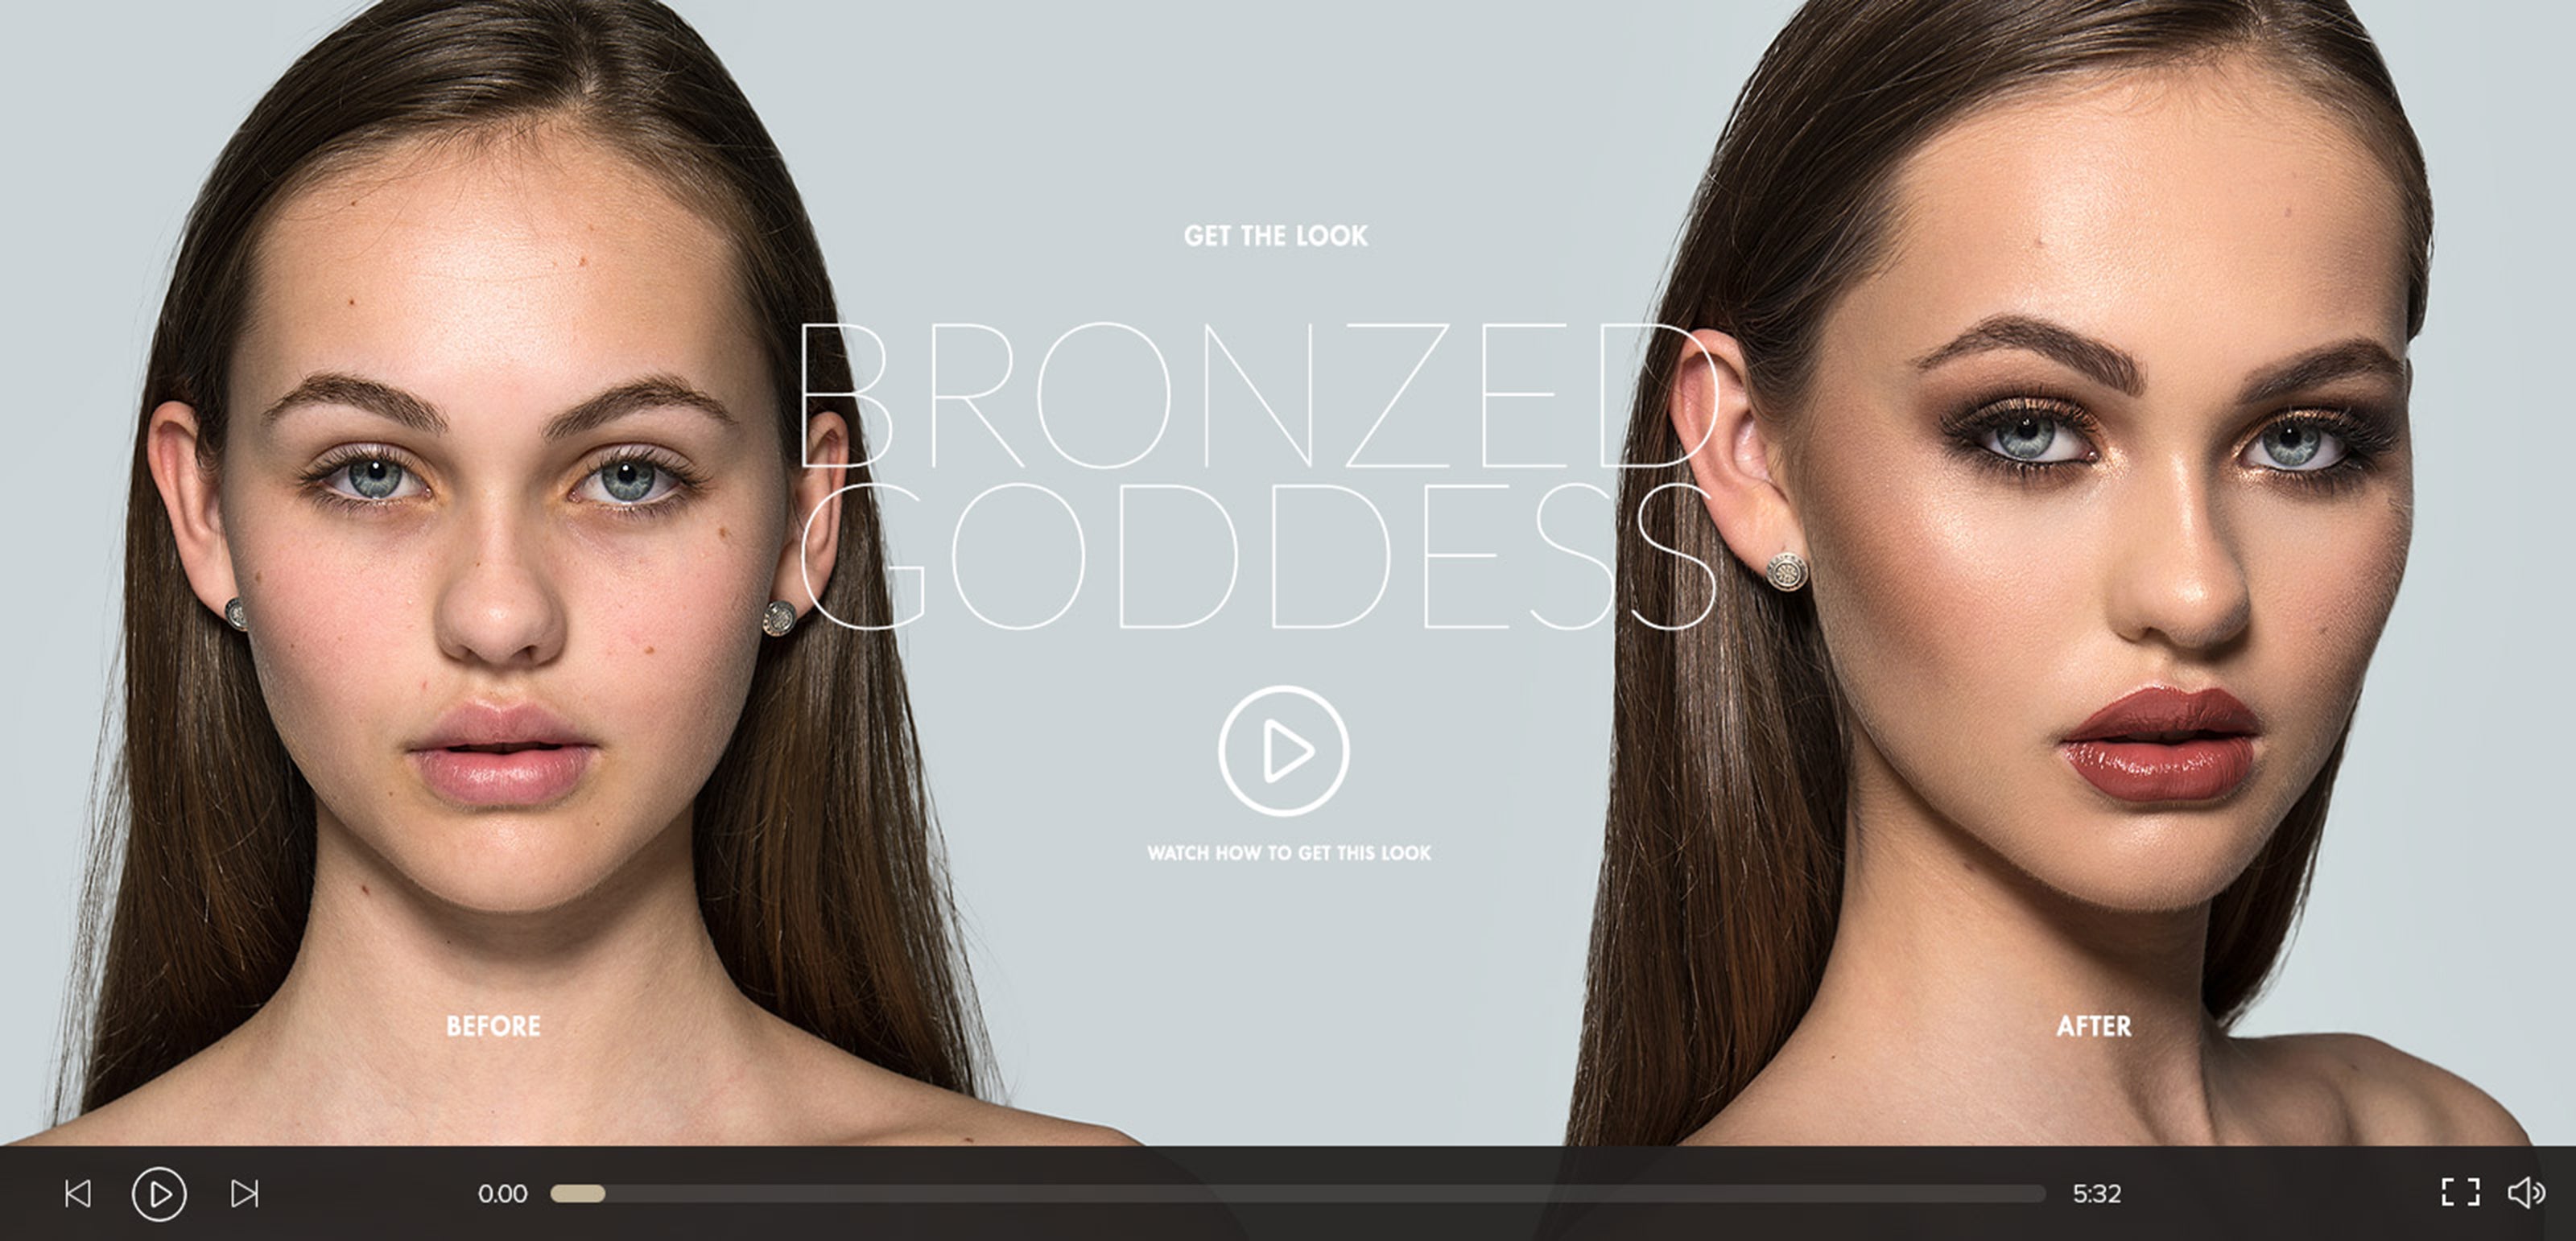
Discover how to recreate this sultry bronzed look. We show you how to master the art of sculpting, highlighting and creating a radiant, sun kissed complexion with the ultimate bronzed smokey eye.
STEP ONE
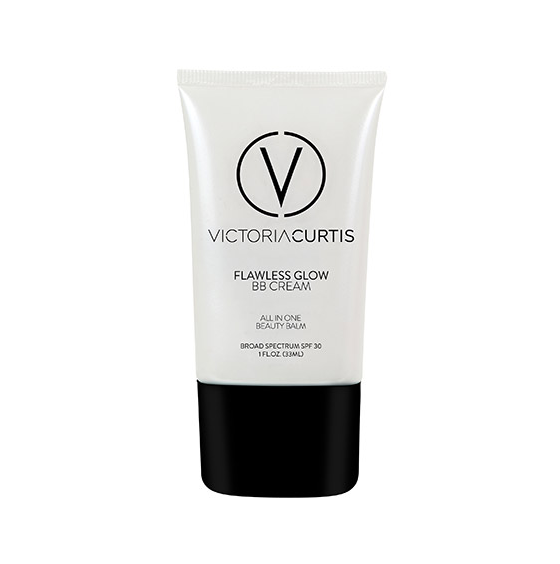
Correct and perfect
DIRECTIONS
Apply BB Crean all over the face and blend well. Watch this magic cream literally disappear into your complexion while instantly colour correcting and perfecting your skin!


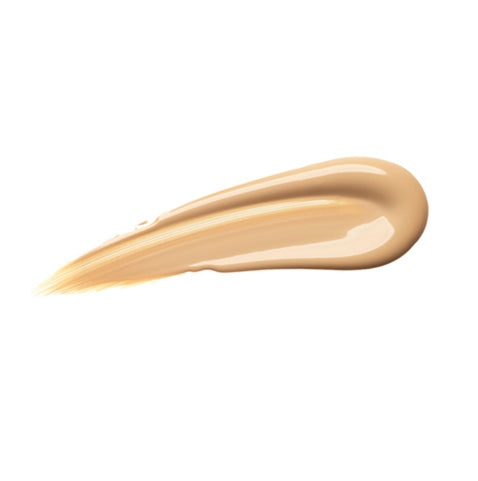
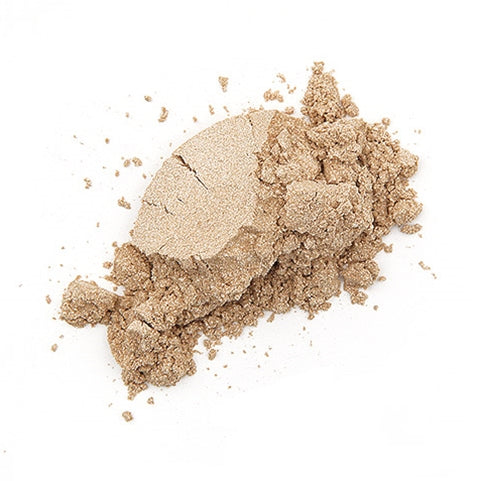
STEP TWO
Sun kissed
DIRECTIONS
This super soft and blendable bronzer can be used all over the face and body to give you an instant sun tan! Use wet or dry - add a drop of water for more intense coverage. Using the luxe Large Powder Brush 180, apply to areas of the face that would be naturally sun kissed and highlighted by the sun. Contour through temples, forehead, below cheekbones and use what is left on your brush to highlight the centre of the nose.


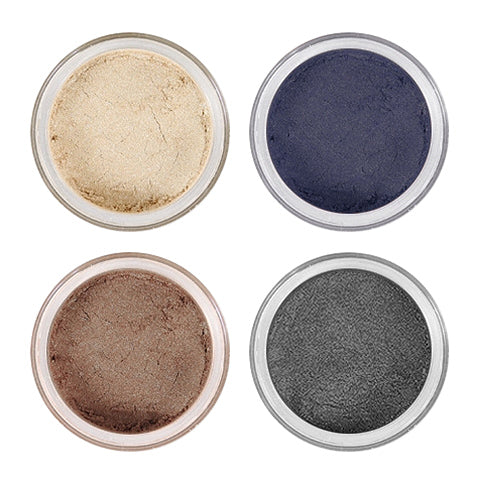
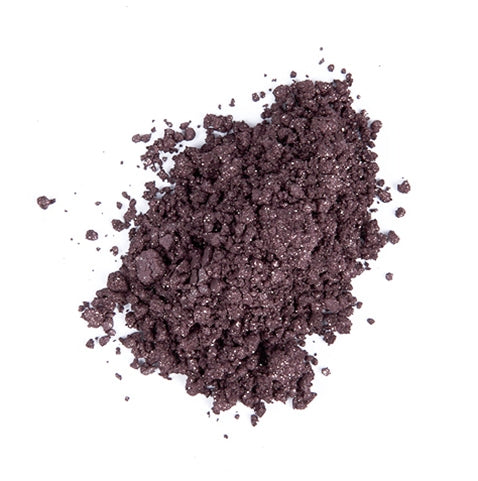
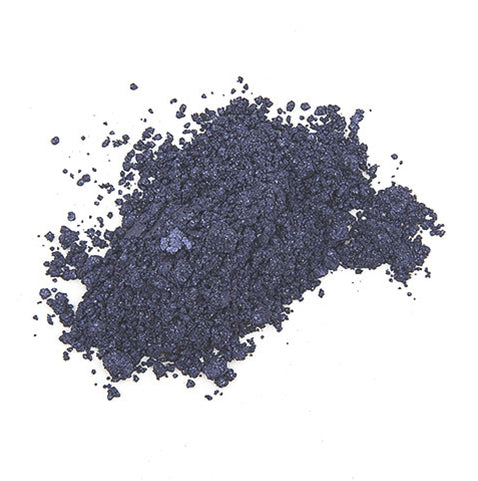
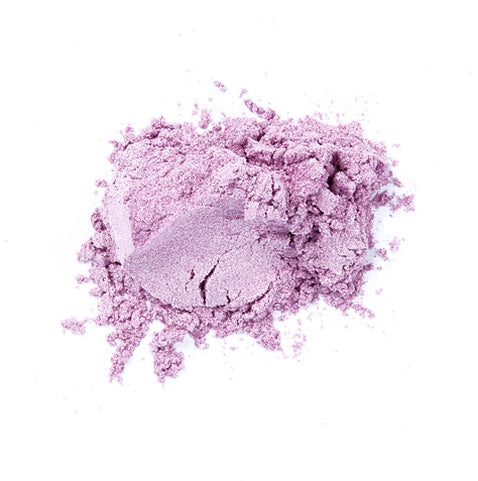
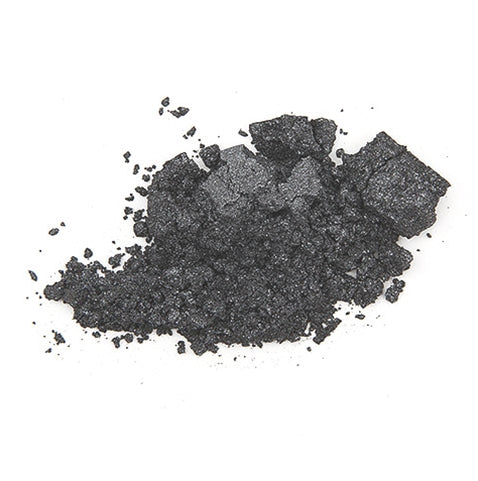
STEP THREE
Killer eyes
DIRECTIONS
Use wet for intense colour application for shadow or eyeliner.
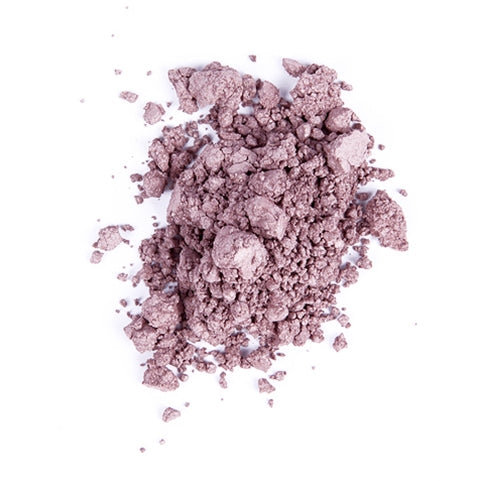
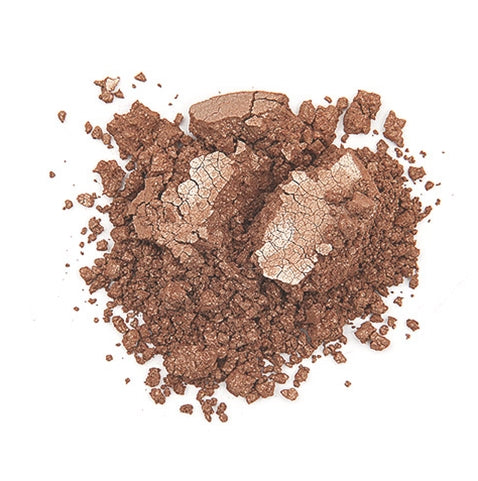
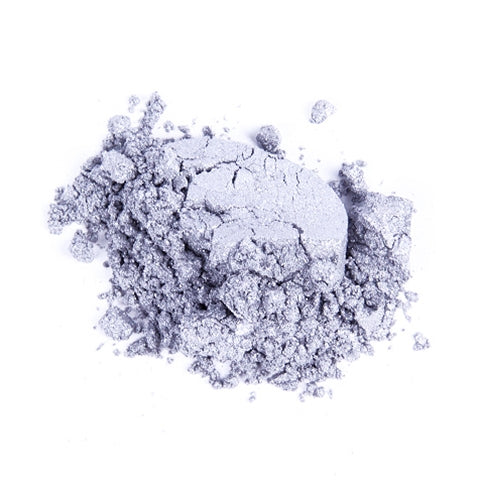
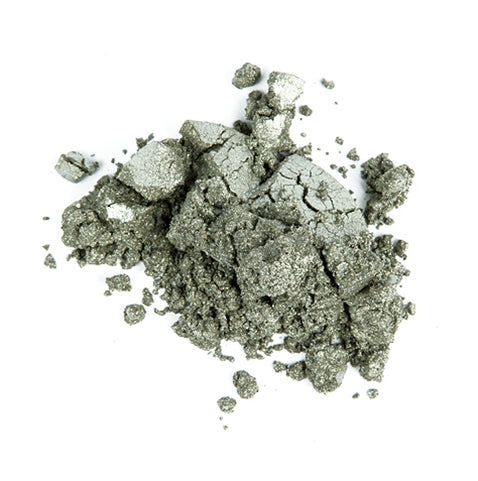
STEP FOUR
Glow
DIRECTIONS
Use wet for intense colour application as shadow or liner.

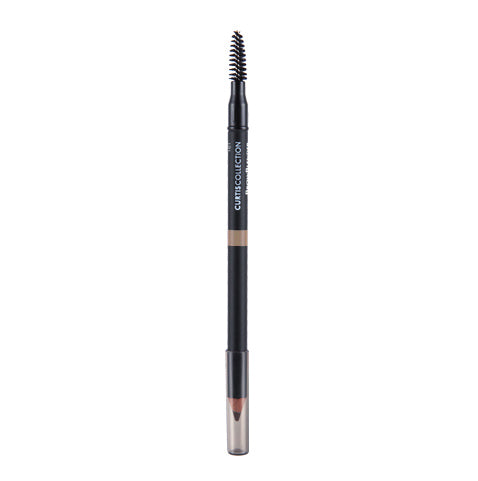
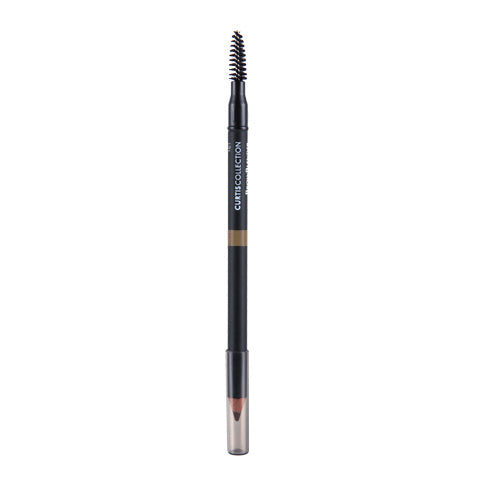
STEP FIVE
Define and Sculpt
DIRECTIONS
Shaping and defining your brows is a great way to frame your face and enhance your eyes.Follow the natural shape of the brow to frame the face. Choose a pencil shade that is closest to your natural brow colour or hair colour. Always apply pencil shading in soft short strokes to ensure a natural finish.


STEP SIX
Make a statement
DIRECTIONS
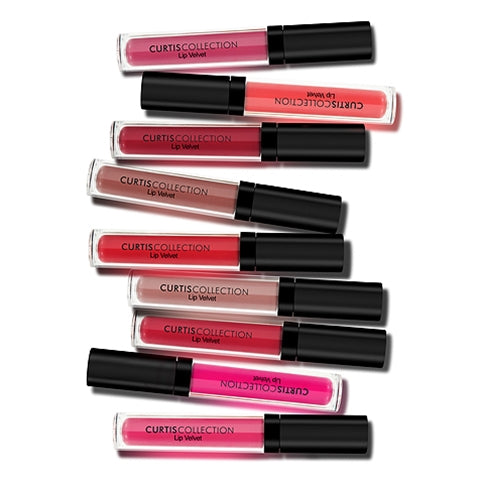
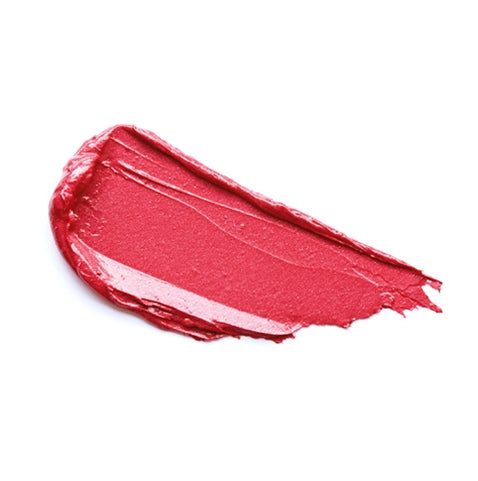
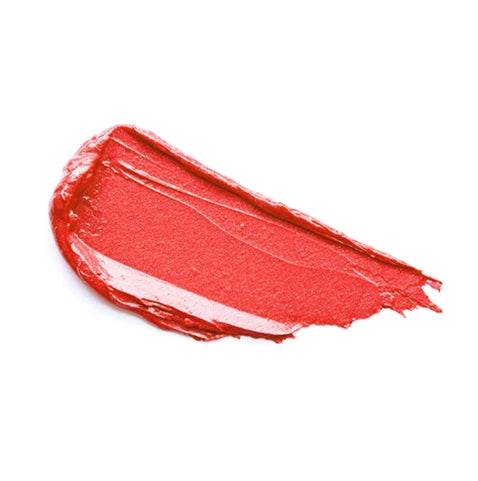
For long lasting lip colour - apply one coat of Lip Velvet on top of your matching Velvet Lip Liner starting on the bottom lip. Press lips together and then fill in cupids bow carefully with the tip of the applicator. This super pigmented formula goes a long way. For a simple lip stain use a tissue blot colour for a perfectly tinted lip.